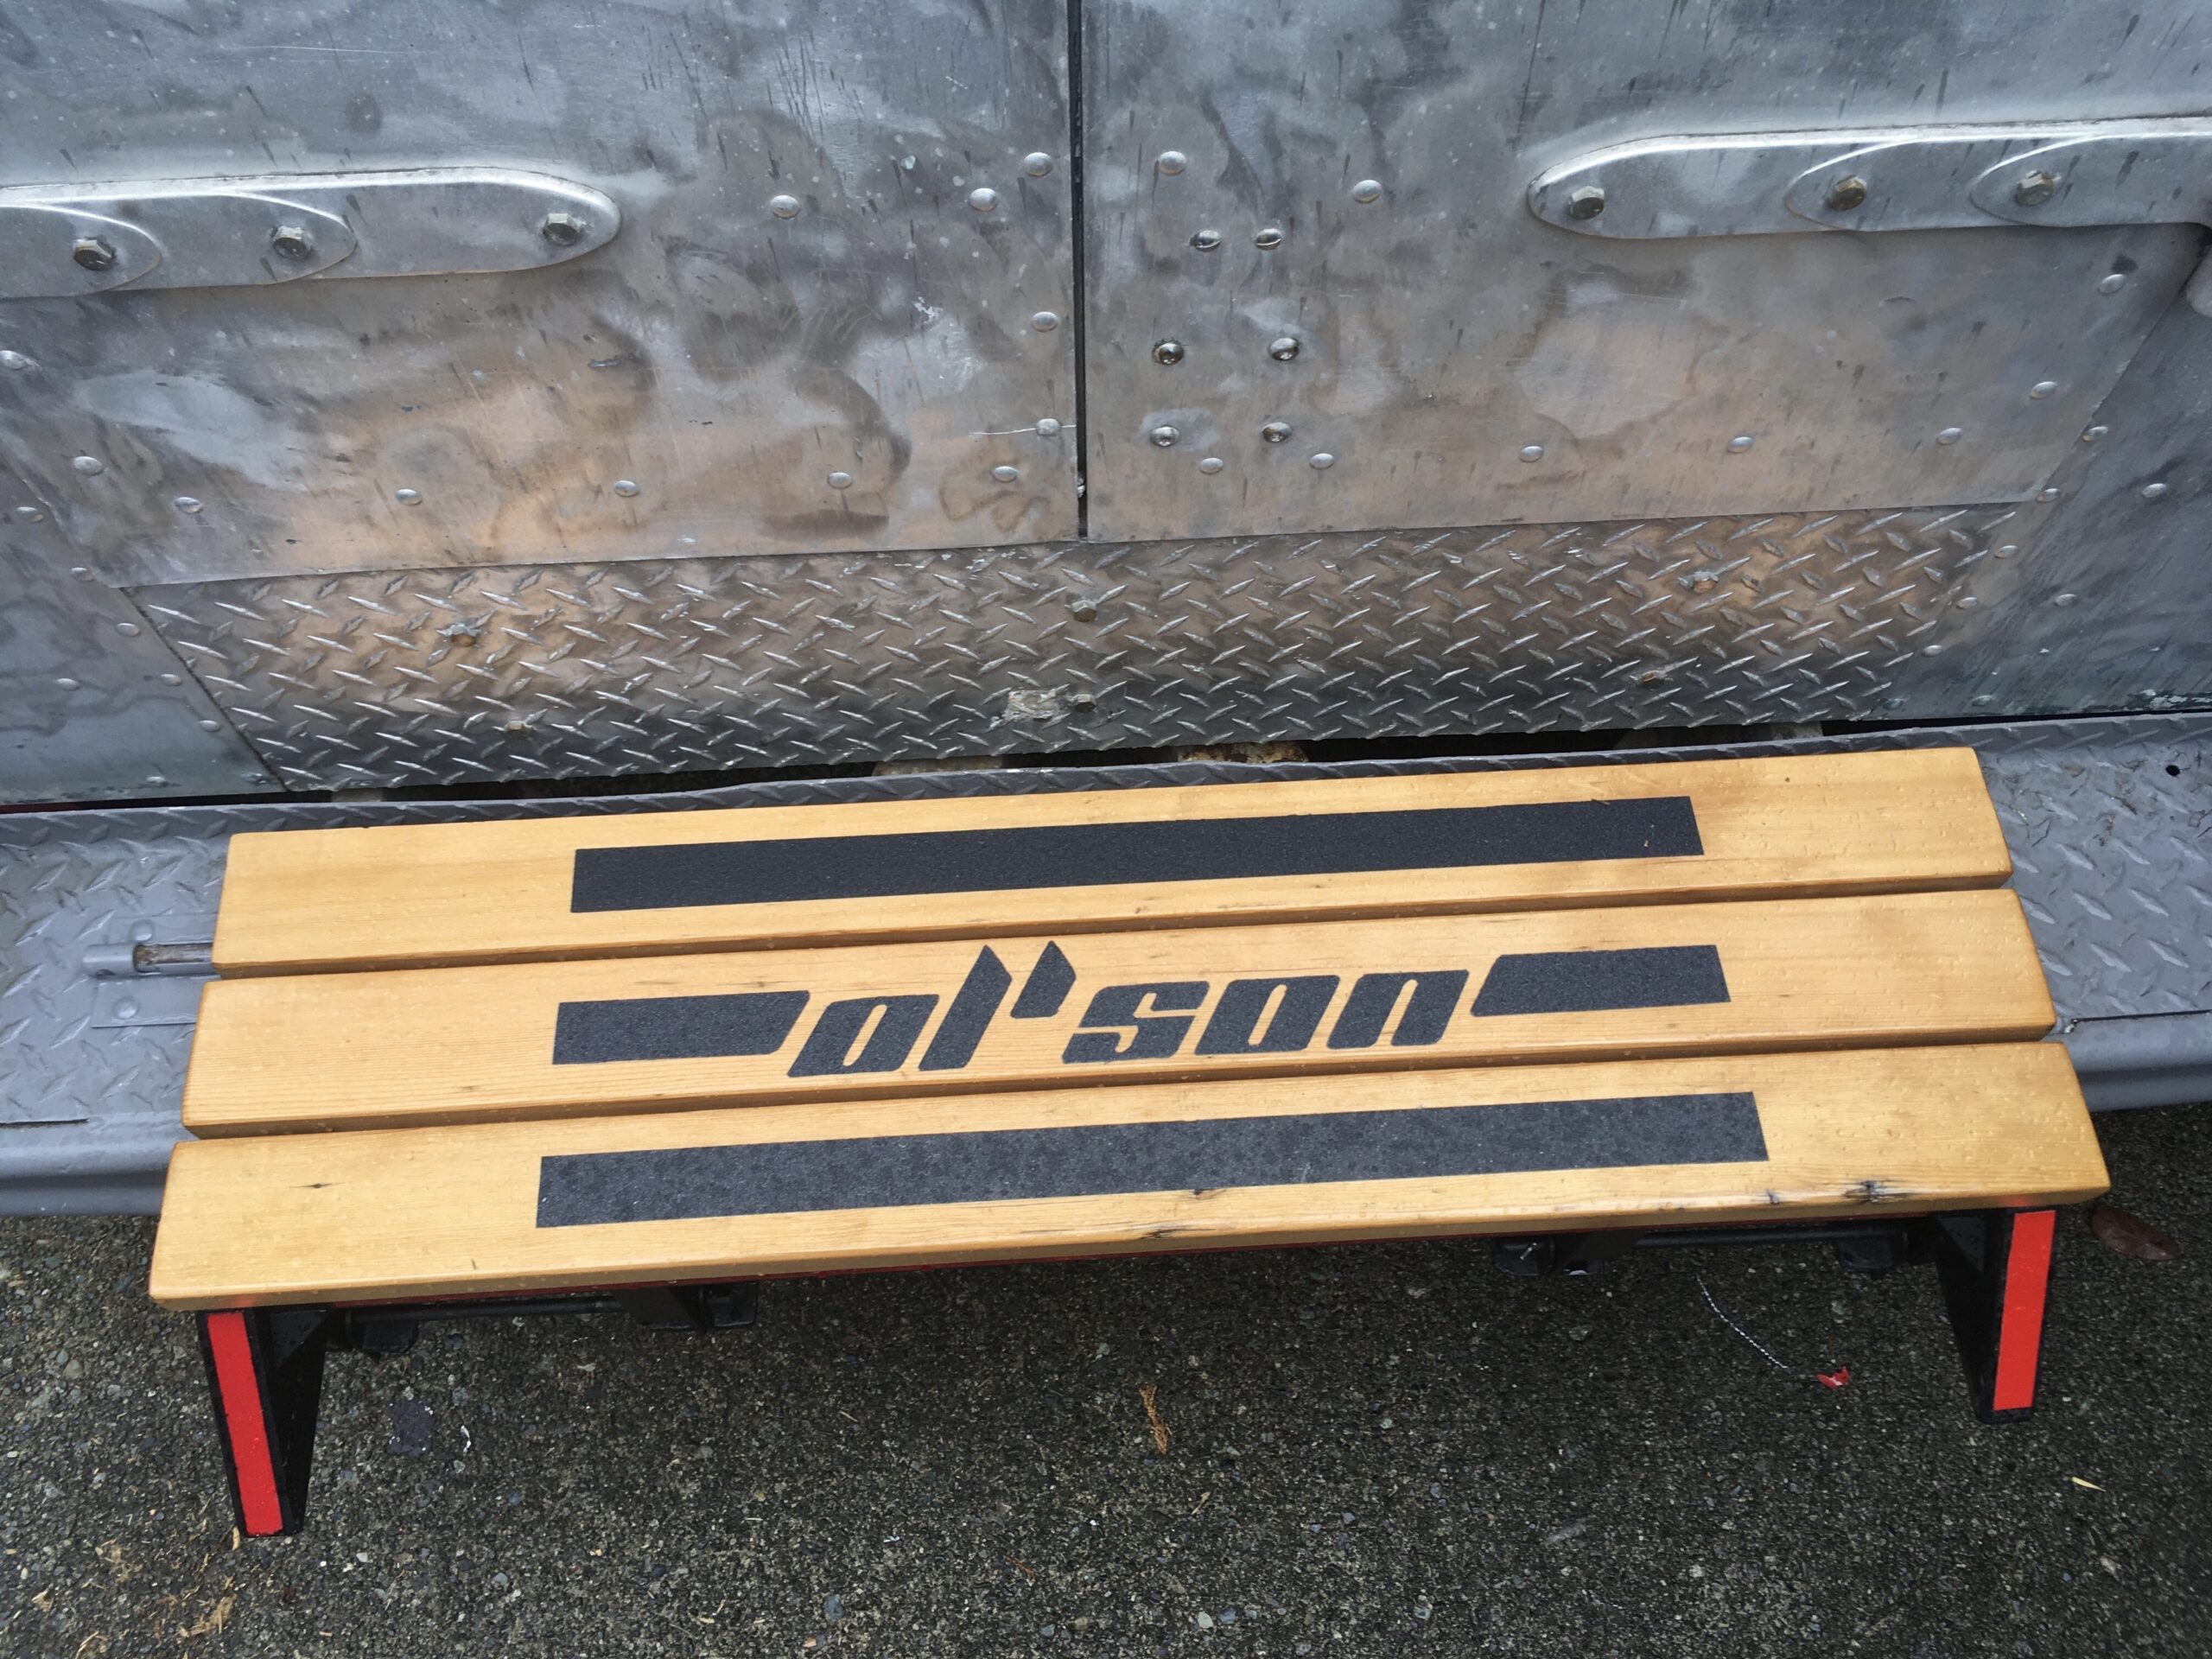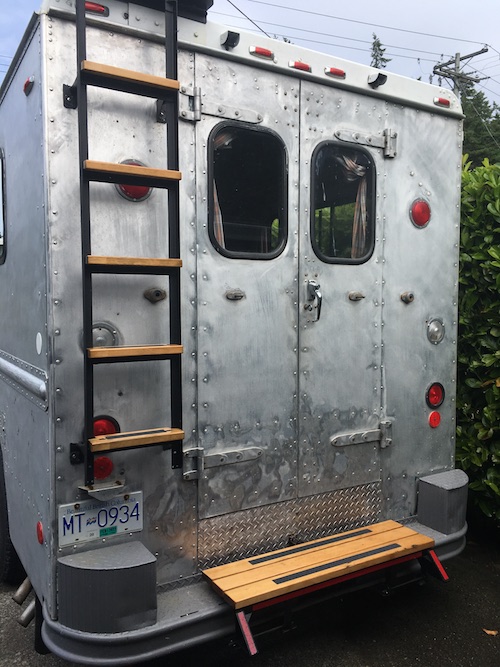
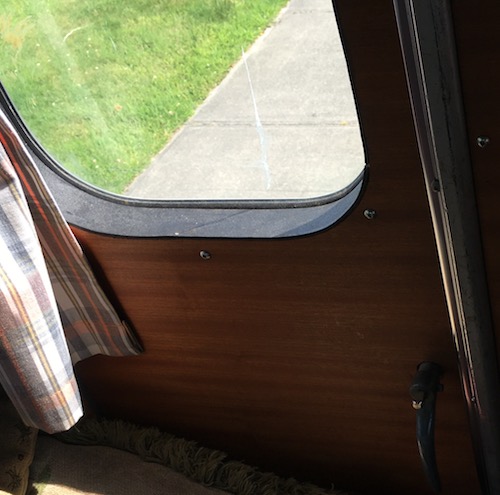
REAR DOOR DETAIL
I added a wooden frame around the window and then glued a rubber sill all the way around.
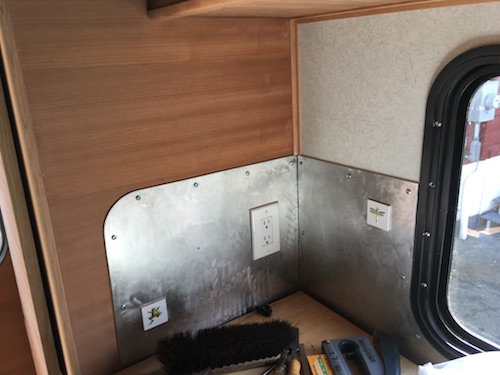
BACKSPLASH DETAIL
Using the aluminum taken from the cut out material from big side window. Two ceramic tiles cut as insets.
THIRD TIME’s THE CHARM – UPCYCLED CABINET DOORS
The colour chose itself.
I had originally built a combination murphy bed/storage unit for my shop. Then, once I had moved out of the shop, the storage unit was converted into a closet for the basement suite.
Being a huge fan and proponent of the upcycling lifestyle, it was a natural and easy decision to continue the lifespan of these drawer fronts… that and the fact that was just enough wood to do all of the cabinet and drawer fronts I would need in Ol’Son.
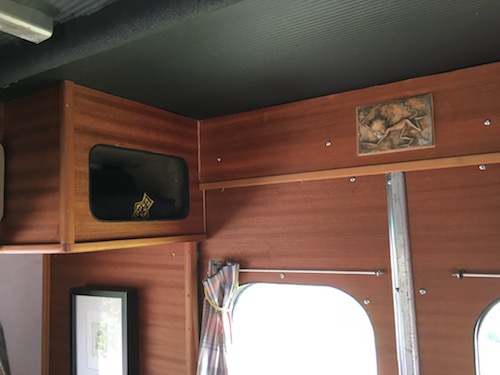
GOOD LUCK ELF
I had a charming tile that really needed a special place.
My good luck fishing charm.
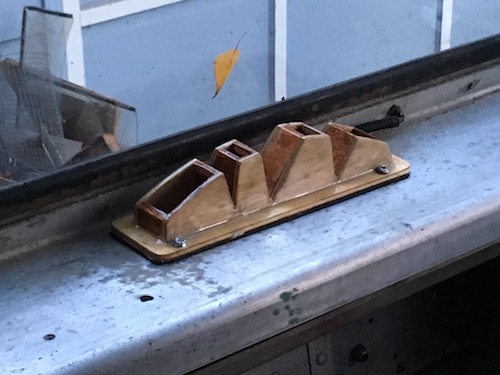
MORE TIME THAN MONEY
The old window defrost vents were cracked and I was getting low on funds. Lots of wood though.
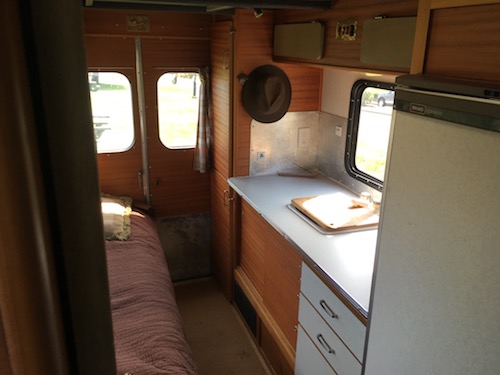
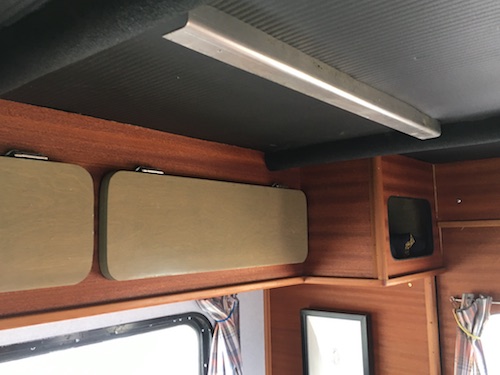
FINISHED VIEW LOOKING BACK RIGHT
Everything is there including the kitchen sink and a place to hang my hat. The two tall cabinets at the back are the primary storage spaces for the permanent necessities.
Top cabinet features tools and electronic repair equipment.
Bottom cabinet is where extra fluids and my fishing waders and boots reside.
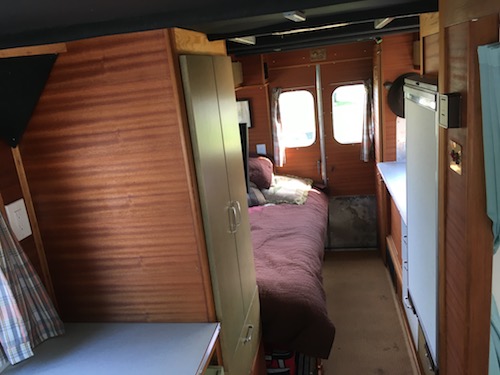
FINISHED VIEW LOOKING BACK LEFT
The forward cabinet is my closet with hanging space for shirts etc. Drawer underneath is for sheets and blankets. Again more overhead storage in the back for food and other must needs.